
- 1. 1. Two production routes, one product name
- 2. 2. Route one: casting from monomer
- 3. 3. The polymerisation ramp — where clarity is won or lost
- 4. 4. Route two: extrusion from pellets
- 5. 5. Adding the colour
- 6. 6. Why bubbles form, and the four places they come from
- 7. 7. Annealing and internal stress
- 8. 8. Quality checks at each stage
- 9. 9. Why acrylic rod costs what it costs
- 10. 10. Frequently asked questions
- 11. Send the diameter, the colour and the end use
On this page
- Two production routes, one product name
- Route one: casting from monomer
- The polymerisation ramp — where clarity is won or lost
- Route two: extrusion from pellets
- Adding the colour
- Why bubbles form, and the four places they come from
- Annealing and internal stress
- Quality checks at each stage
- Why acrylic rod costs what it costs
- Frequently asked questions
1. Two production routes, one product name
"Acrylic rod" covers two manufacturing routes that share a chemistry and almost nothing else. Understanding which route your supplier uses explains most of the differences you will see in tolerance, price and optical quality.
| Gieten | Extrusie | |
|---|---|---|
| Starting material | Liquid MMA monomer | Solid PMMA pellets |
| How the shape is formed | Polymerised inside a tube mould | Melted and pushed through a die |
| Batch or continuous | Batch — each tube is a batch | Doorlopend |
| Cyclustijd | Many hours to days per batch | Metres per minute |
| Typical diameter | 3–200 mm | 2–60 mm |
| Colour added | To the monomer before filling | As masterbatch in the pellets |
| Main quality risk | Bubbles from exotherm control | Haze from moisture, flow lines |
2. Route one: casting from monomer
Casting is a chemical process rather than a forming process. The material is created in the shape you want, instead of being shaped after it is made.
Step 1 — Preparing the monomer
Methyl methacrylate monomer is a thin, clear, strongly smelling liquid. It is inhibited as supplied, so the inhibitor has to be removed or overwhelmed before polymerisation will proceed predictably. An initiator is added — commonly a peroxide or an azo compound such as AIBN — at a fraction of a percent. The exact level sets how fast the reaction runs, and therefore how much heat it generates.
For transparent coloured rod this is also where the colour goes in: pigment or dye dispersed into the monomer, usually through a concentrated pre-dispersion so that a small volume can be metered accurately into a large batch. Getting this dispersion right is the whole basis of colour consistency, because once the monomer is poured there is no further mixing.
Step 2 — Filling the mould
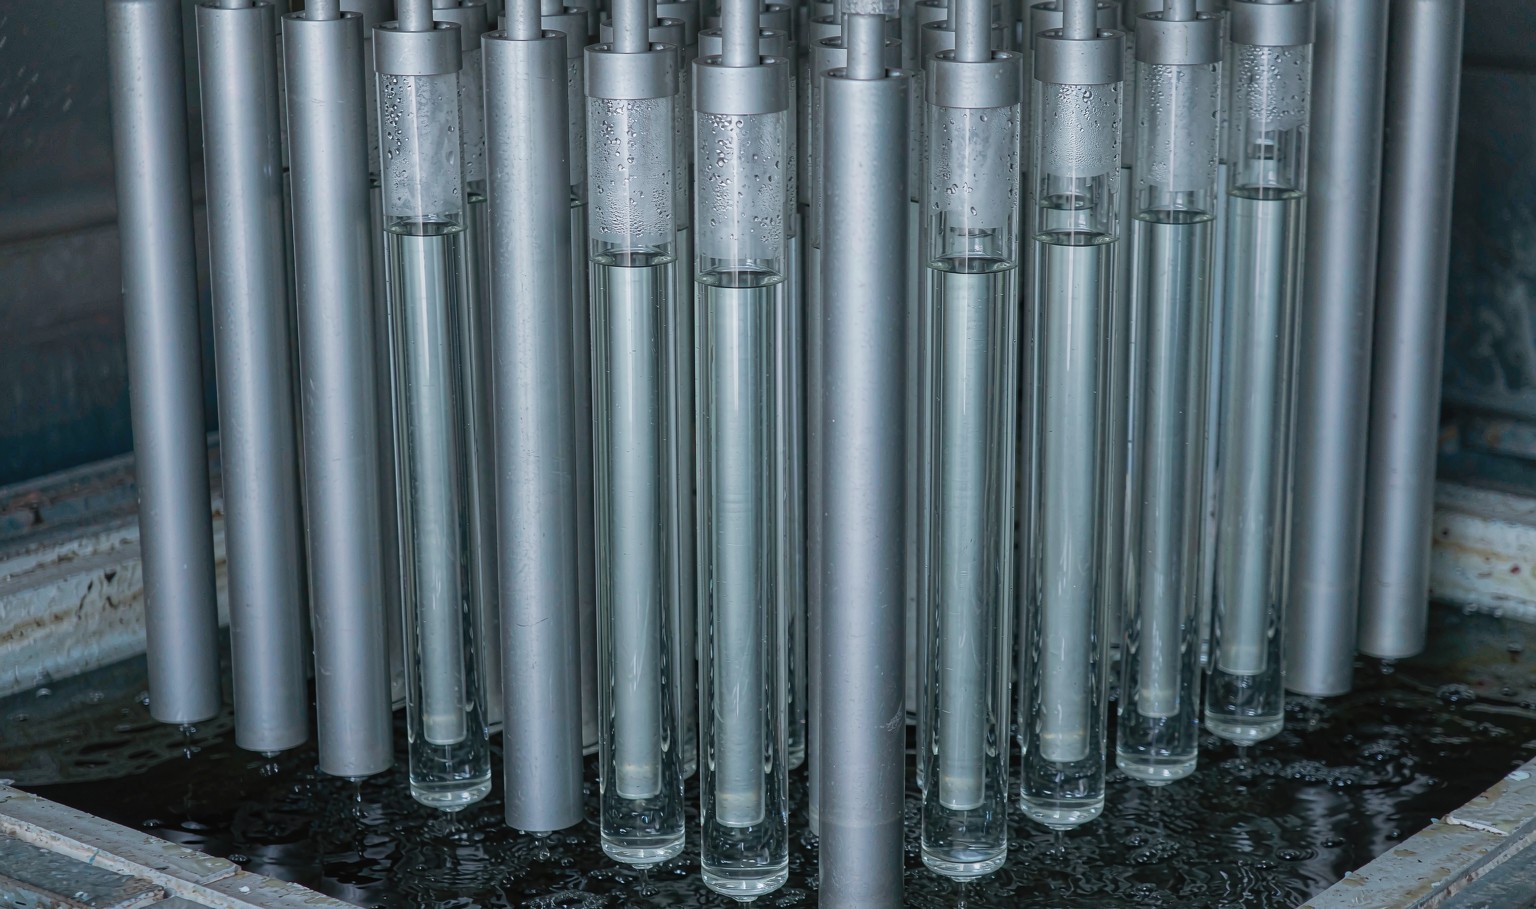
The mixture is poured into vertical tube moulds. Aluminium is the traditional choice because it conducts heat well and holds its dimensions; polyethylene tubes are used where a softer release is wanted. The tube is filled from the bottom to avoid entraining air, and the fill level is set to allow for the shrinkage that occurs as monomer becomes polymer.
This shrinkage is substantial — of the order of 20 % by volume — which is why the mould is generously oversized and why the finished rod's diameter depends on the tube's internal diameter plus a small, predictable correction.
Step 3 — Polymerisation
See the next section. This is the step that decides quality.
Step 4 — Demoulding and finishing
After the cure, the rod is released from the tube, cut to length, and the ends are machined square. Cast rod is usually annealed at this point, then inspected, and the ends are polished if the customer needs optical clarity through the end face.
3. The polymerisation ramp — where clarity is won or lost
Polymerising MMA is exothermic: the reaction releases heat, and heat makes the reaction go faster. In a thin sheet that is easy to control. In a solid rod 50 mm across, the centre cannot get rid of heat as fast as it generates it, so the centre runs hotter than the outside. If the centre reaches the boiling point of residual monomer, you get bubbles. If the centre runs far ahead of the outside, you get a hard core inside a soft shell, and the resulting stress will crack the rod later.
The control is the temperature programme. A typical cycle starts at 40–50 °C, holds while the reaction initiates, then ramps slowly — over hours — to a finishing temperature around 90–110 °C to drive conversion up and complete the polymerisation. Thicker rods need slower ramps and longer holds. Large-diameter cast rod can take a day or more per batch.
This is why cast rod price rises steeply with diameter. A 100 mm rod occupies a mould for far longer than a 20 mm rod, uses more monomer, and carries a much higher risk of a scrapped batch. The material cost difference is small; the occupancy time and the scrap risk are what you are paying for.
Two further details matter for coloured rod specifically. Pigments can act as nucleating points or absorb heat differently from clear resin, so a colour that cures cleanly in clear may need a modified ramp. And dyes that are sensitive to heat can shift hue during a long, hot cure — which is one reason a colour matched on a small sample sometimes does not reproduce on a large rod.
4. Route two: extrusion from pellets
Step 1 — Drying
PMMA pellets absorb moisture from the air. Extruded wet, that moisture turns to steam in the melt and leaves the rod hazy or full of fine bubbles. Drying at roughly 80 °C for two to four hours in a desiccant dryer is standard, and it is not optional — it is the single most common cause of hazy extruded acrylic.
Step 2 — Melting
The dried pellets are fed into a single-screw extruder. Acrylic is a difficult melt: high viscosity, strongly shear-thinning, and narrow in its processing window. Barrel temperatures typically run from about 180 °C at the feed to 220–240 °C at the die, with the melt itself around 200–230 °C depending on grade. Overheat it and it degrades; the first sign is a yellow tint that no amount of cooling removes.
Screw design matters more for acrylic than for commodity resins. The screw needs enough compression to melt the pellets without generating so much shear that the melt overheats, and enough mixing to homogenise the masterbatch colour.
Step 3 — Forming and sizing
The melt passes through a circular die, then is cooled and pulled. Two cooling routes are used: a water bath, which gives fast cooling and high output but more residual stress, and air or a cooled sleeve, which gives slower cooling and lower stress. The haul-off speed relative to extruder output sets the drawdown — the ratio between die size and finished diameter — and that ratio is what allows extruded rod to hold ±0.1 to ±0.3 mm.
Because the tolerance depends on a balance between two continuously running machines, extruded tolerance is a process capability rather than a mould dimension. That has a practical implication: if the haul-off drifts or the melt temperature moves, the diameter drifts with it, which is why in-line gauging and closed-loop control matter on a good line.
Step 4 — Cutting
Rod is cut to length on the fly with a saw synchronised to the haul-off. Cut length tolerance of ±1 mm is normal; tighter needs a different cut-off arrangement.
5. Adding the colour
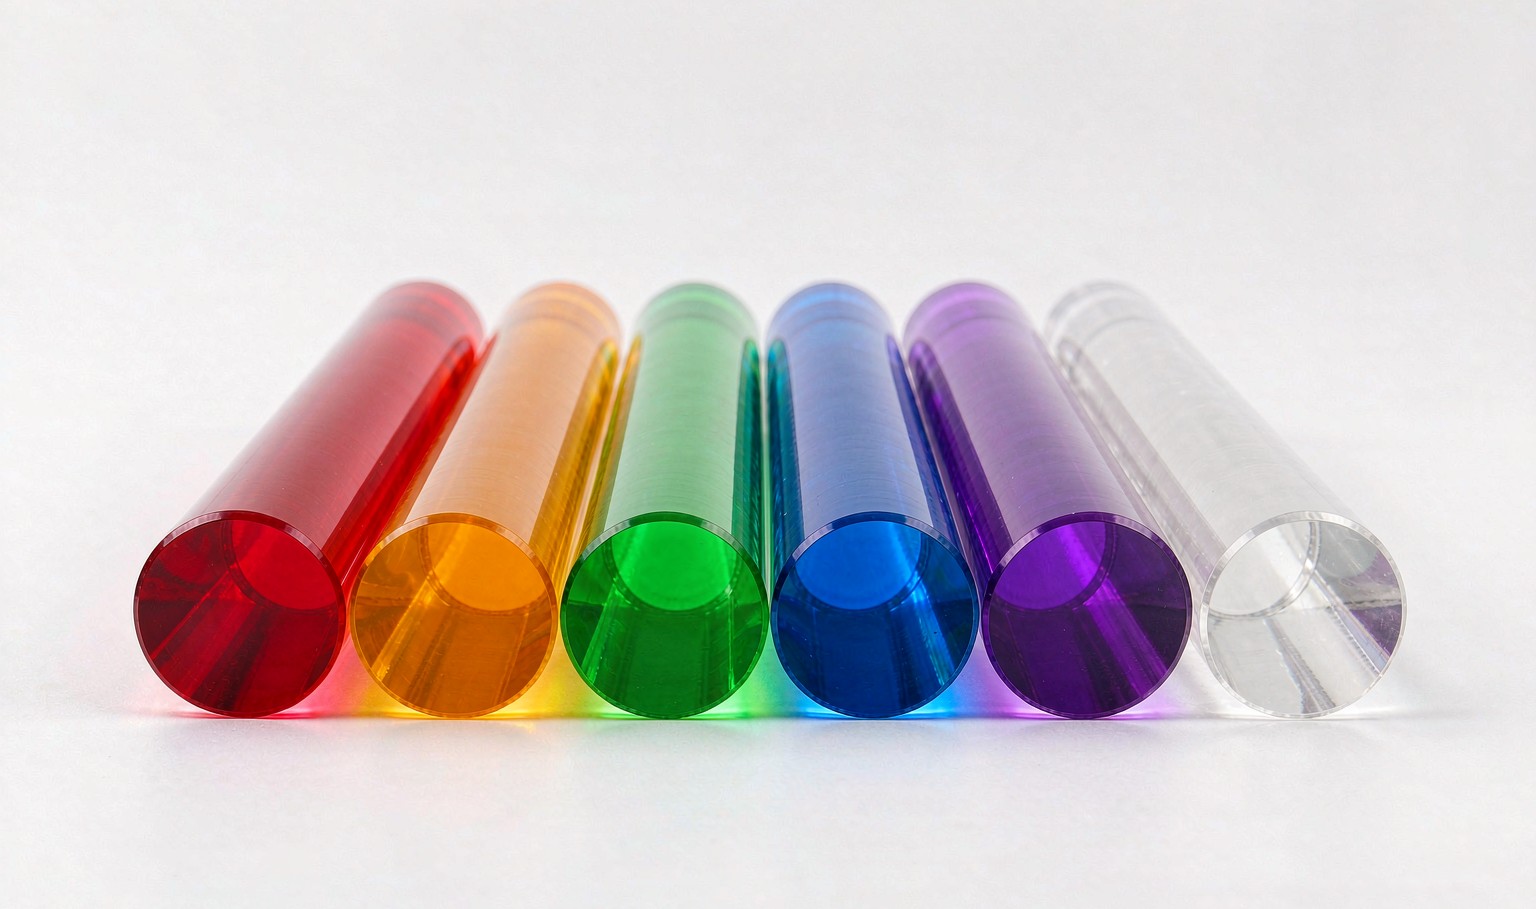
Transparent colour is a different problem from opaque colour, and it is worth understanding why before specifying a shade.
No opacifier. Opaque plastics are coloured with titanium dioxide plus pigment. Titanium dioxide scatters light, which is exactly what makes a material opaque — and exactly what would ruin a transparent rod. So transparent colour is achieved with either a soluble dye, which dissolves in the polymer and absorbs specific wavelengths without scattering, or a transparent organic pigment, which is dispersed as particles small enough not to scatter visible light.
Dye versus pigment. Dyes give the highest clarity and the most "glass-like" appearance, because there are no particles at all. Their weakness is lightfastness and heat stability — some dyes fade or shift in sunlight, and some cannot survive the cast cure or the extrusion melt. Transparent pigments are less optically pure but far more durable, which is why exterior and automotive applications use pigments rather than dyes.
Where the colour is added. In casting, colour is dispersed into the monomer, so it is present uniformly from the first moment of polymerisation and there is no mixing step afterwards. In extrusion, colour comes in as masterbatch pellets blended with natural pellets, and the uniformity depends on how well the screw mixes them. That is the mechanism behind colour streaks in extruded rod — it is a dispersion problem, not a pigment problem.
Colour changes with diameter. This catches buyers out constantly. A tint that reads as a light amber in a 10 mm rod reads as a deep brown in a 40 mm rod, because the light path through the material is four times longer. Transparent colour therefore has to be specified against a diameter, not on its own. A supplier quoting "amber" for both sizes without asking which diameter you need has not thought it through.
6. Why bubbles form, and the four places they come from
Bubbles are the defining defect of acrylic rod, and they have four distinct origins. Knowing which one you are looking at tells you whether the problem is the process, the material or the handling.
| Origin | What the bubbles look like | Oorzaak |
|---|---|---|
| Air entrainment | Few, large, irregular, often near the surface or along one side | Air trapped during mould filling in casting, or at the feed throat in extrusion |
| Monomer boil | Many, small, concentrated toward the centre of a thick rod | Exotherm running away — cure too fast or too hot for the diameter |
| Shrinkage voids | Elongated, at the centre, often with a "stringy" appearance | Material pulling apart as it shrinks while the outside has already hardened |
| Moisture | Very fine, evenly distributed, with an overall haze | Wet pellets in extrusion; water or contamination in the monomer in casting |
The fixes follow directly. Air entrainment: fill from the bottom, slow the fill, check the feed throat temperature. Monomer boil: slower ramp, lower peak temperature, longer hold. Shrinkage voids: this is largely a design limit — very large solid sections need a slower cure, and beyond a certain diameter cast rod is expected to have a small central void. Moisture: dry the pellets properly, and verify the dryer rather than trusting it.
7. Annealing and internal stress
Both routes leave stress in the rod. Casting leaves the stress of polymerisation and of the temperature gradient across the section. Extrusion leaves the stress of flow orientation and of cooling. In both cases the stress is invisible until something releases it — usually machining, solvent contact, or time.
Annealing is a controlled release: the rod is heated to just below the point where it would distort, held long enough for the stress to relax, then cooled slowly. For acrylic that is typically in the 80–100 °C range depending on grade, with hold times that scale with diameter.
The practical test is simple and worth asking for. Immerse a sample in a stress-crazing agent — a solvent or a proprietary craze test solution — and see whether it crazes within a specified time. A properly annealed rod survives; an unannealed one crazes in seconds.
If your part will be drilled, tapped, turned or cemented, specify annealed rod. It costs slightly more and it prevents the most common field failure in acrylic components: a crack that appears a day after assembly and is blamed on the material.
8. Quality checks at each stage
| Stage | What is checked | Waarom |
|---|---|---|
| Incoming material | Monomer inhibitor level, pellet moisture, pigment identity | Wrong initiator level or wet pellets produce a whole batch of scrap |
| Colour preparation | Dispersion quality, shade against standard | Colour cannot be corrected after filling or extrusion |
| In-process | Bath or barrel temperature profile, haul-off speed, drawdown | These are the variables that control bubbles and diameter |
| Finished rod — dimensional | Diameter at several points, ovality, straightness, length | Confirms the process was stable through the run |
| Finished rod — optical | Visual inspection against a light box for bubbles, haze, streaks; light transmission on optical grades | Bubbles and haze are the defects that cause rejection |
| Finished rod — stress | Craze test on a sample | Confirms the annealing cycle worked |
| Finished rod — colour | Spectrophotometer against the retained standard, ΔE recorded | Batch-to-batch consistency is the main complaint in coloured rod |
9. Why acrylic rod costs what it costs
Four things drive the price, and only one of them is the material.
- Material. PMMA is not a commodity resin. Transparent pigments and lightfast dyes add further cost, and some colours are markedly more expensive than others — deep reds and blues usually cost more than ambers.
- Occupancy time. In casting, the mould is tied up for the whole cure. A large-diameter rod occupies a tube for a day or more, and that time is the dominant cost, not the monomer.
- Scrap risk. Casting is a batch process: one temperature excursion can scrap an entire tube, and the scrap cannot be recovered as transparent rod. That risk is priced in.
- Yield and finishing. Cutting, squaring the ends, polishing and inspecting all cost labour. A polished end on an optical rod can cost more than the material in a short length.
The counter-intuitive consequence: for small diameters in volume, extruded rod is much cheaper; for large diameters, cast is often cheaper than extruded would be, because extrusion cannot make them at all.
10. Frequently asked questions
How long does it take to make cast acrylic rod?
A full cure cycle for a small-diameter rod is typically measured in hours; for large diameters it can be a day or more per batch, plus annealing. That is why cast rod is made to order rather than held in stock in every size and colour.
Why is my coloured acrylic rod darker than the sample?
Almost always a diameter effect. Transparent colour deepens as the light path through the material increases, so a shade approved on a 10 mm sample will look much darker on a 30 mm rod. Colour for transparent rod has to be approved on the actual diameter, or at least on a sample of the same thickness.
Can acrylic rod be made without bubbles?
In small and mid diameters, yes — a well-controlled cast or extrusion process produces rod with no visible bubbles. In very large solid sections a small central void is a normal characteristic of the process rather than a defect, and it should be agreed in the specification rather than discovered at inspection.
Does the colour go all the way through the rod?
In both cast and extruded rod, yes — the colour is in the material, not on the surface. This is different from coated or painted products, and it means the colour survives machining, cutting and polishing.
What is the difference between transparent and translucent acrylic rod?
Transparent rod lets you see through it clearly; translucent rod diffuses light so you see a glow but not an image. Translucent is achieved by adding a light-diffusing agent, and it is common in lighting and signage. Specify which one you need — "clear coloured" is ambiguous.
Can you match a specific Pantone or RAL colour in transparent acrylic?
Approximately, not exactly. Pantone and RAL are defined for opaque surfaces, and a transparent material viewed against a background will never match a solid colour chip precisely. The practical approach is to match against a physical transparent sample and record the measured value, then hold that as the standard for repeat orders.
Send the diameter, the colour and the end use
We will confirm whether cast or extruded is the right route, send a colour sample on the actual diameter you need, and quote the quantity — including the annealing step if your part will be machined.





 NL
 EN
 ES
 FR
 DE
 PT
 AR
 RU
 JA
 KO
 IT
 TR
 PL
 ID
