
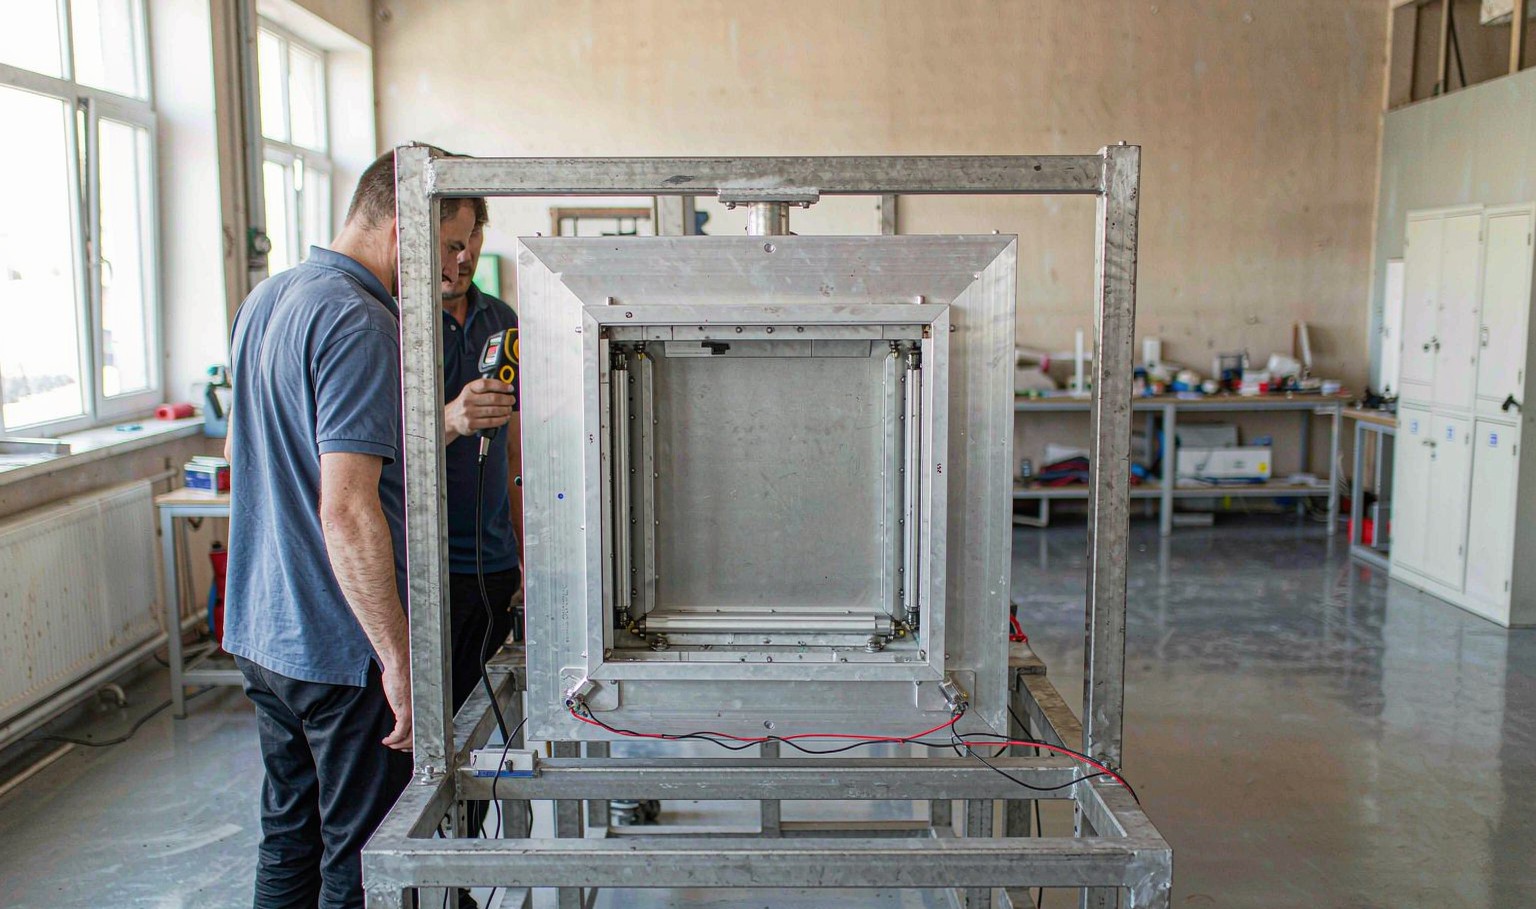
A hot tool is a different process
A cold aluminium tool is a shape that the sheet is pressed against. A hot tool is a mould that the sheet is formed into and then held against while it sets. The difference sounds semantic and it is not: a cold tool finishes the forming at the moment of contact, and a hot tool finishes it over the next several seconds.
That is what makes detail possible. Sharp corners, fine text, tight radii and deep ribs all require the sheet to stay deformable after it touches the tool, so that it can be drawn into the last few millimetres of the shape. On a cold tool the sheet freezes on contact and the detail stops where the contact stopped.
The cost is time. A hot tool has to hold the part until it is rigid enough to release without distorting, and that hold is longer than the hold on a cold tool. The part is better and the cycle is slower, and both of those come from the same variable.
Detail comes from the tool, not the sheet
Detail reproduction against mould temperature: 70 percent at 60 C, 80 at 80, 88 at 100, 94 at 120 and 96 at 140. The curve rises steeply to about 110 C and then flattens, because past that point the sheet is no longer the limit; the tool's own surface finish and venting are.
The flattening is worth knowing, because 140 C is an expensive place to operate. The last 20 degrees buy two percentage points of detail and cost five seconds of cycle, and on most parts that trade is not worth making.
Detail also depends on where the detail is. A sharp internal corner at the bottom of a deep draw needs a hot tool because the sheet has to flow into it; a shallow rib on a flat face will form on a cold tool because the sheet is not being asked to do much. A tool that is hot everywhere for one local feature is a tool that is wasting cycle everywhere else.
The cycle time you pay
Cycle time against mould temperature: 22 seconds at 60 C, 24 at 80, 27 at 100, 31 at 120 and 36 at 140. The rise is faster than linear at the top end, because the part has to cool from a hotter tool as well as from a hotter sheet.
On a 27 second cycle, going from 100 C to 140 C costs nine seconds, which is a third more machine time for two points of detail. That is the calculation to make before deciding the tool should be hot, and it is usually made the other way round: the tool is made hot because a corner would not form, and nobody checks what the rest of the part is paying.
The compromise that works is zoned heating. Heat the area with the difficult feature and leave the rest of the tool cooler. A tool with two heater zones and two thermocouples costs little more than a single-zone tool and gives most of the detail for a fraction of the cycle.

How to heat a tool
Cartridge heaters are the usual answer for aluminium tools. They are drilled into the tool body, they are cheap, and they respond quickly. Their weakness is that they heat locally, so a tool with a few cartridges has hot spots and cold corners unless the cartridges are placed with some care and the tool is given time to equalise.
Fluid heating is more even and more stable, and it is the usual answer for larger tools or for tools that have to hold a temperature precisely. Oil units are common because they reach 150 to 200 C without pressure, and the same unit can cool as well as heat if the process needs it.
The third option is to run the tool cold and heat the sheet more. That works for shallow parts and fails for detail, because the sheet cools against the tool faster than it can be drawn into a tight feature regardless of how hot it started.
| Heating method | Even temperature | Response | Am besten für |
|---|---|---|---|
| Cartridge heaters | Fair, needs soak time | Schnell | Small and medium aluminium tools |
| Fluid, oil or water | Gut | Langsam | Large tools, tight temperature control |
| Hot air or radiant, tool unheated | Not applicable | Schnell | Shallow parts with no fine detail |
| Zoned cartridges | Good where zoned | Schnell | One difficult feature on a simple part |
Table 1 — Ways to heat a forming tool and what each one is good at
Warp and the two-sided part
A thermoformed part has two faces that cool at different rates. The face against the tool cools fast; the face against the air cools slowly. That difference builds in a stress gradient, and the part warps towards the hot face as it equalises.
A hot tool reduces the gradient, because the tool face is closer to the sheet temperature and the two faces cool more evenly. That is why a part with a flatness requirement is often formed on a hot tool even when the detail does not need one, and it is a better reason than detail for paying the cycle time.
A hot tool also helps the second face's surface. A sheet that is cooled quickly on one side and slowly on the other can show a difference in gloss or texture between the two faces, which matters on a part that is visible from both sides.
| Mould temperature | Warp over 600 mm | What it means |
|---|---|---|
| 60 C | 3.5 mm | Needs a fixture or a stress relief step |
| 80 C | 2.4 mm | Marginal for a flat panel |
| 100 C | 1.4 mm | Acceptable for most assemblies |
| 120 C | 0.8 mm | Good, and the detail is nearly complete |
| 140 C | 0.6 mm | The floor, and the cycle cost is high |
Table 2 — Warp on a flat 600 mm panel against mould temperature
What to specify
A tool temperature specification should name the zone, the tolerance and the reason.
- Mould temperature, per zone, with a tolerance and the measurement point.
- Which features the heat is there for, so a later cost reduction does not remove it.
- Heating method and warm-up time, since a tool that takes 40 minutes to stabilise needs a plan.
- The cycle time at that temperature, agreed as part of the price.
- Flatness or warp limits on the finished part, which is often the real driver.
- Whether the tool is cooled at the end of the run, and how, to avoid condensation on an aluminium tool.
The warm-up item is the one that gets forgotten. A hot tool needs to reach temperature before the first good part, and on a big aluminium tool that is not minutes. A quote that assumes a cold start every shift is a quote that will be wrong.
What mould temperature should a thermoforming tool run at?
60 to 80 C for simple parts, 100 to 120 C for parts with fine detail or a flatness requirement. Above 120 C the detail gain is small and the cycle cost is large.
Why does a hot tool improve detail?
It keeps the sheet deformable after contact, so it can be drawn into tight corners and fine features instead of freezing where it first touched.
How much cycle time does a hot tool cost?
On a 27 second cycle at 100 C, going to 140 C costs about nine seconds, which is a third more machine time.
Does a hot tool reduce warpage?
Yes. It reduces the temperature difference between the two faces, which is what builds the stress gradient that causes warp.
Should the whole tool be heated?
Usually not. Zone the heat to the feature that needs it and leave the rest cooler, which gives most of the detail for a fraction of the cycle.
How long does a heated tool take to stabilise?
From 20 minutes on a small cartridge-heated aluminium tool to over an hour on a large fluid-heated tool. It has to be in the plan, not in the first shift.
A part with a corner that will not form?
Send the geometry, the sheet and the features that matter. We will tell you which zones need heat, what temperature, and what it costs in cycle time.




 DE
 EN
 ES
 FR
 PT
 AR
 RU
 JA
 KO
 IT
 NL
 TR
 PL
 ID
