
カスタム薄肉(薄ゲージ)真空成形ガイド
薄肉真空成形の紹介
薄肉真空成形は、加熱したプラスチックシートを真空圧を利用して金型上で成形する製造プロセスで、比較的薄肉の部品が得られます。この方法は、特に試作品や少量から中量の生産に適しており、コストとスピードのバランスが取れています。
真空成形(薄肉真空成形と呼ばれることもある)は、プラスチックシートを柔軟になるまで加熱し、真空を利用して金型の表面に密着させる熱成形技術である。この製法は、その簡便さと手頃な価格から珍重され、素材によっては透明にも不透明にもなる、概ね均一な厚みの軽量部品を作ることができる。包装トレイ、自動車パネル、医療機器カバーのような薄肉製品を効率的に生産する必要がある製造業者にとって、特に複雑な機械や高圧工具が使用できない場合に最適な選択肢となる。
射出成形のような複雑な方法とは異なり、真空成形は参入障壁が低く、高価な金型やシンプルな設備が少なくて済むという点で際立っています。このため、中小企業や新興企業、あるいは大規模な生産コストを先行させることなく新しいデザインを試作する場合に理想的です。
どのようにステップバイステップで薄肉真空成形を処理するには?
薄肉真空成形プロセスは、薄くて均一な壁を持つ部品を製造するために調整された、合理的かつ正確な一連の工程です。その詳細な内訳は以下の通りです:
1.暖房:
ABSやポリスチレンなどの薄いプラスチックシートは、120℃から180℃の間で加熱され、柔らかく柔軟になる。
2.金型の位置決め:
加熱されたシートは、アルミニウムや3Dプリントされたポリマーで作られた金型の上に慎重に置かれ、精度を確保する。
3.真空アプリケーション:
真空がプラスチックを金型に密着させ、部品を弱くする可能性のある伸びすぎを防ぎながら成形する。

5.トリミング:
余分な材料は、CNCルーターや手作業による切削で取り除かれ、その後、サンディングで滑らかに磨き上げられる。
4.冷却:
ファンやミストでプラスチックを急速に冷却することで、成形された形状が適切に固定され、反りの問題も最小限に抑えられる。
この工程は効率的で、1サイクルに数分しかかからないことも多いが、望ましい薄さと強度を維持するためには、加熱と真空の段階に細心の注意を払う必要がある。以下に手順を表にまとめた:
| ステップ | 説明 |
|---|---|
| 暖房 | 薄いプラスチックシートを柔軟な状態(120℃~180℃)に加熱する。 |
| 金型の位置決め | 加熱されたシートが金型(アルミニウムまたは3Dプリント)の上に配置される。 |
| 真空アプリケーション | 真空がシートを金型に引きつけ、薄い壁(0.5mm~2mm)を形成する。 |
| 冷却 | パーツをファンやミストで冷却し、薄肉構造を固める。 |
| トリミング | 余分な材料は取り除かれ、最終的な薄肉部品のためにエッジが仕上げられる。 |
薄肉真空成形の利点と限界
薄肉真空成形には明確な利点がありますが、考慮しなければならない課題もあります。ここでは、その詳細について説明する:
1.メリット
費用対効果: 金型費用は比較的低く、少量から中量(250~3000個)の薄肉部品の生産に手頃な価格となっている。
軽量部品: 最小限の材料を使用することで、このプロセスは非常に軽量な部品を作り出し、自動車のダッシュボードや航空宇宙産業のキャビン部品など、軽量化が効率を向上させる用途に理想的である。
迅速な生産: サイクルは速く、加熱からトリミングまで10分以内であることが多いため、試作品や急ぎの生産ニーズにも迅速に対応できる。
材料効率: 薄肉真空成形は、プラスチックの使用量を最小限に抑え、コストと廃棄物の両方を削減します。
2.制限:
肉厚の一貫性: 深い部分まで均一な厚みを維持するのは難しく、注意深く管理しなければ、薄い斑点や構造的な弱点につながる可能性がある。
シンプルなジオメトリーのみ: 基本的な形状は得意だが、アンダーカットや複雑なディテールを持つような複雑なデザインは苦手で、汎用性に限界がある。
大容量用ではありません: 少量生産では経済的だが、大量生産では手作業による仕上げが必要なため、射出成形などの方法に比べて競争力が落ちる。
二次仕上げ: 肉厚の薄い部品のトリミングや平滑化には多くの場合、さらなる労力が必要となり、全体的な時間とコストが増加する。
3.比較:
| メリット | 制限事項 |
|---|---|
| 低い金型費用 | 均一な肉厚の確保に挑戦 |
| 軽量コンポーネント | 単純な形状に限定 |
| 迅速な生産サイクル | 大量生産では効率が悪い |
| 材料廃棄の削減 | 余分なトリミングと仕上げが必要 |
薄肉真空成形に使用される材料は?
薄肉真空成形では、加熱、延伸、正確な形状への成形が可能なため、さまざまな熱可塑性材料が一般的に使用されます。主な材料は以下の通り:
| 材料 | 特性と用途 |
|---|---|
| ABS(アクリロニトリル・ブタジエン・スチレン) | 耐久性、耐衝撃性に優れ、成形が容易。自動車部品、消費財、電子筐体に最適。 |
| HIPS(高衝撃ポリスチレン) | 軽量でコストパフォーマンスに優れ、包装、使い捨て容器、試作品に適している。ABSより耐熱性に劣る。 |
| PVC(ポリ塩化ビニル) | 硬質または軟質のオプション。耐薬品性、難燃性に優れ、医療機器、看板、建築などに使用されている。 |
| PETG(ポリエチレンテレフタレートグリコール) | 透明性、強靭性、耐薬品性を併せ持つ。食品包装、医療機器、ディスプレイで一般的。 |
| ポリカーボネート(PC) | 高強度、透明性、耐熱性。保護カバー、照明、航空宇宙部品などに使用される。 |
| ポリプロピレン(PP) | 柔軟性、耐薬品性、耐疲労性に優れる。リビングヒンジ、容器、自動車部品に適している。 |
| アクリル(PMMA) | 優れた光学的透明度と耐紫外線性。ディスプレイ、レンズ、装飾品に最適。 |
| HDPE(高密度ポリエチレン) | 硬く、耐薬品性、防湿性に優れる。工業用容器や技術部品に使用される。 |
選考要因:
材料の選択は、強度、柔軟性、熱安定性、耐薬品性、コストなどの用途要件によって決まる。薄肉成形では、破れることなく精密で軽量な部品を実現するために、流動特性の良い材料(PETG、ABSなど)が優先されることが多い。
薄肉真空成形における主な設計上の考慮事項
薄肉真空成形の設計には、薄肉部品が機能的で製造可能であることを保証するための特定のガイドラインが必要です:
ドラフト角度: メス型には5°~10°、オス型には3°~5°の角度をつけ、薄い壁を傷つけずに簡単に取り外せるようにする。
壁の厚さ: 弱点を避けるため、均一な厚さ(0.5mm~2mm)を目標にする。綿密な計画を立てないと、不均一な伸張が起こる可能性がある。
深いドローは避ける: ドローの深さは浅く、理想的には部品の最小上幅の75%以下にして、過度の薄肉化や破れを防ぐ。
丸みを帯びた特徴: 薄い壁の応力やひび割れを減らすため、大きな半径(最小3mm)と滑らかなコーナーを使用する。
アンダーカットを制限する: アンダーカットやオーバーハングは、離型を複雑にし、追加金型が必要になる可能性があるため、最小限に抑える。
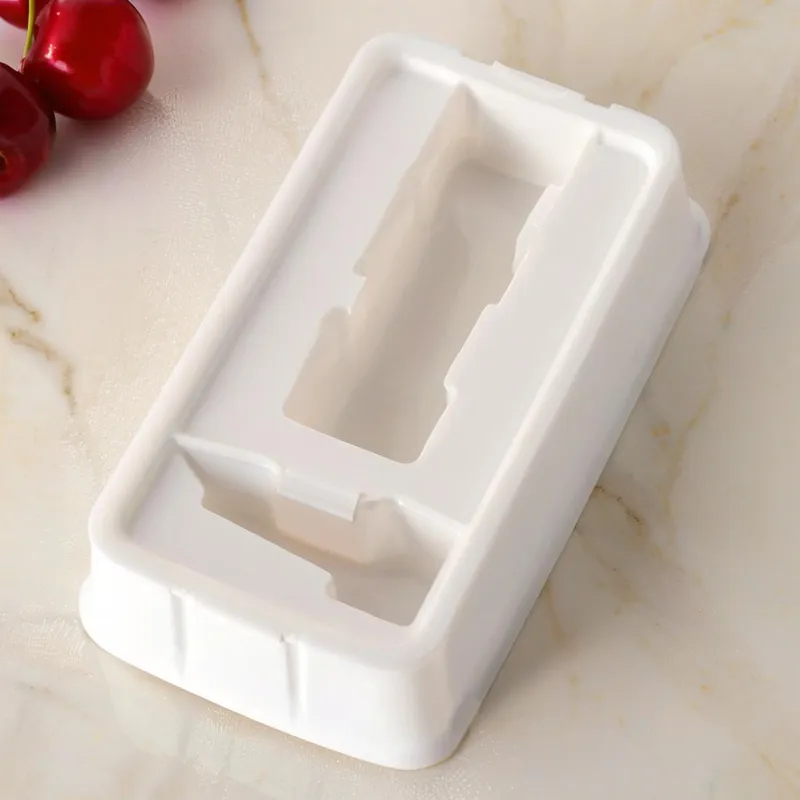
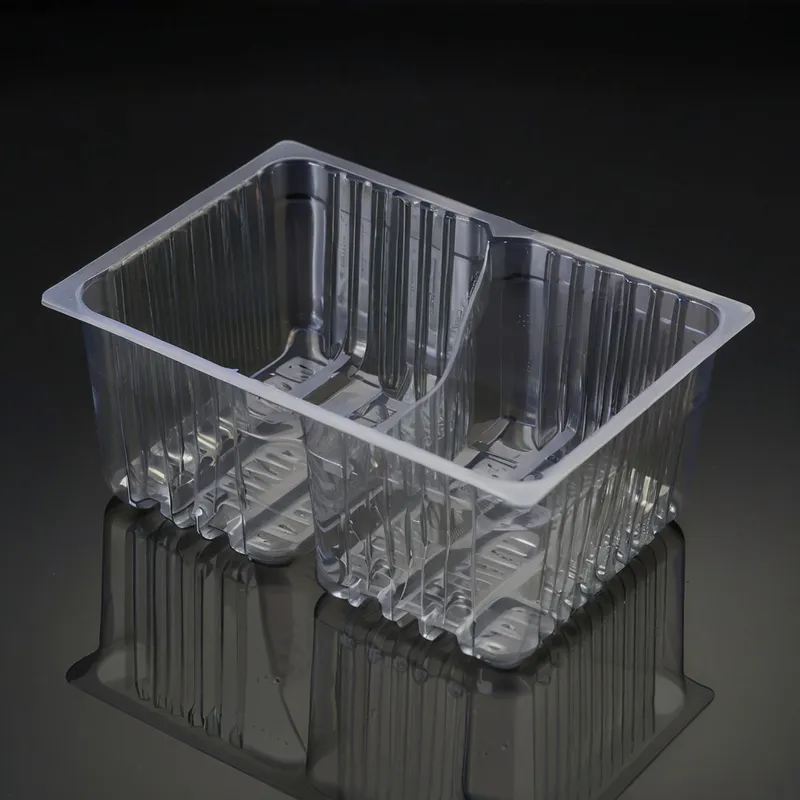
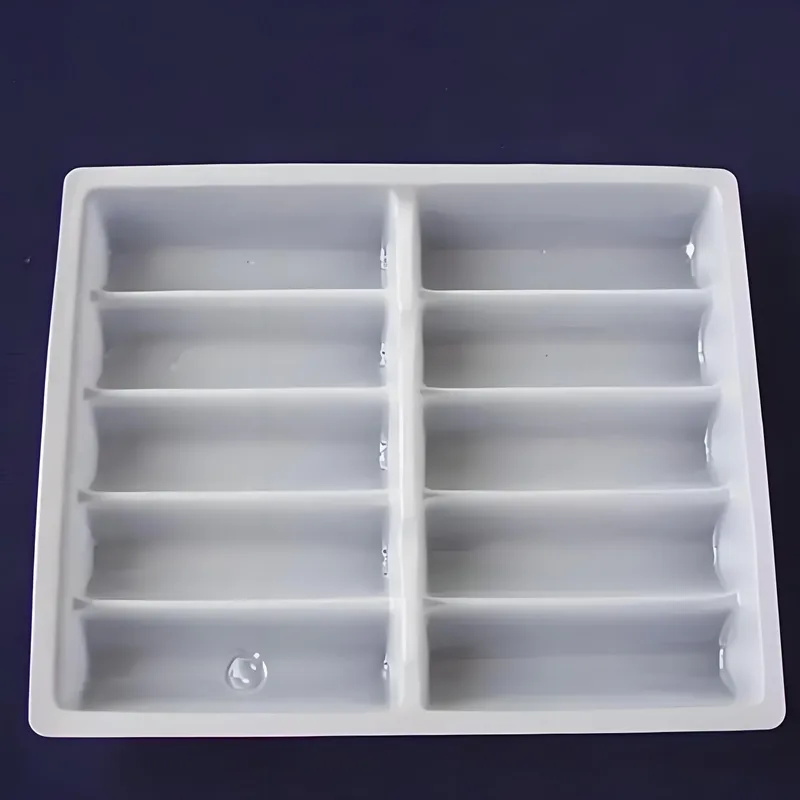
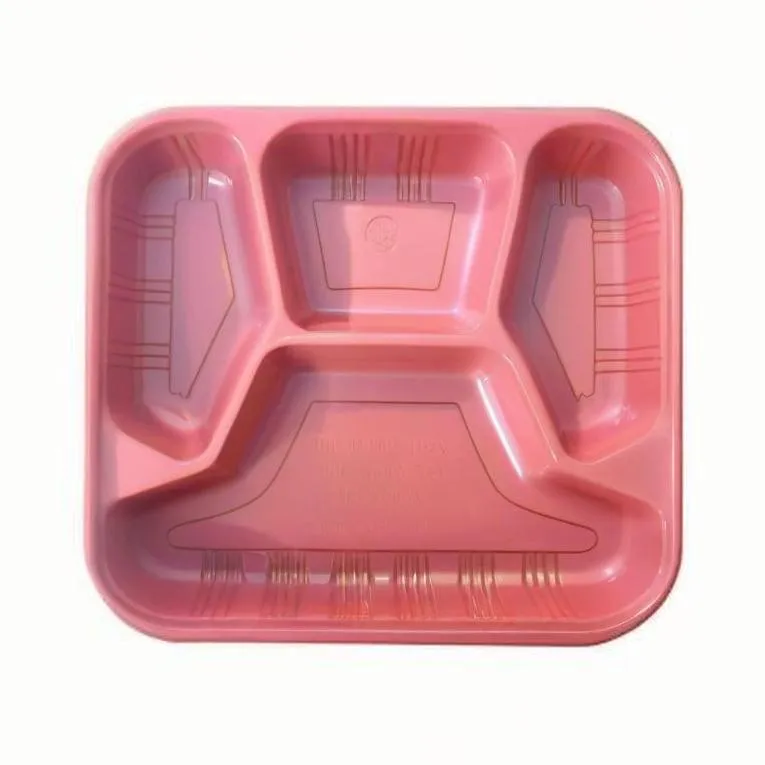
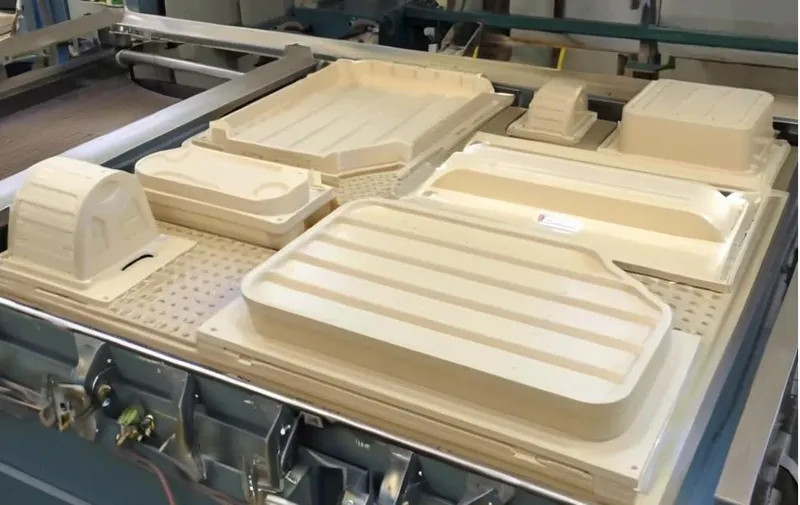
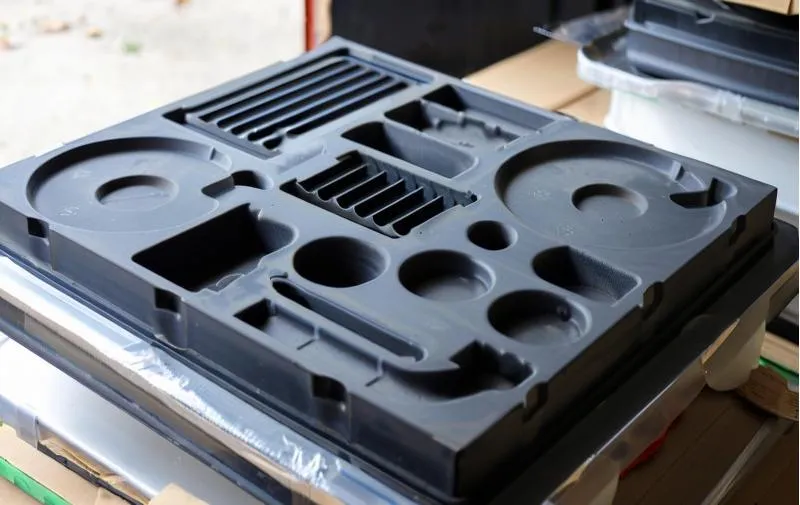
薄肉真空成形の用途
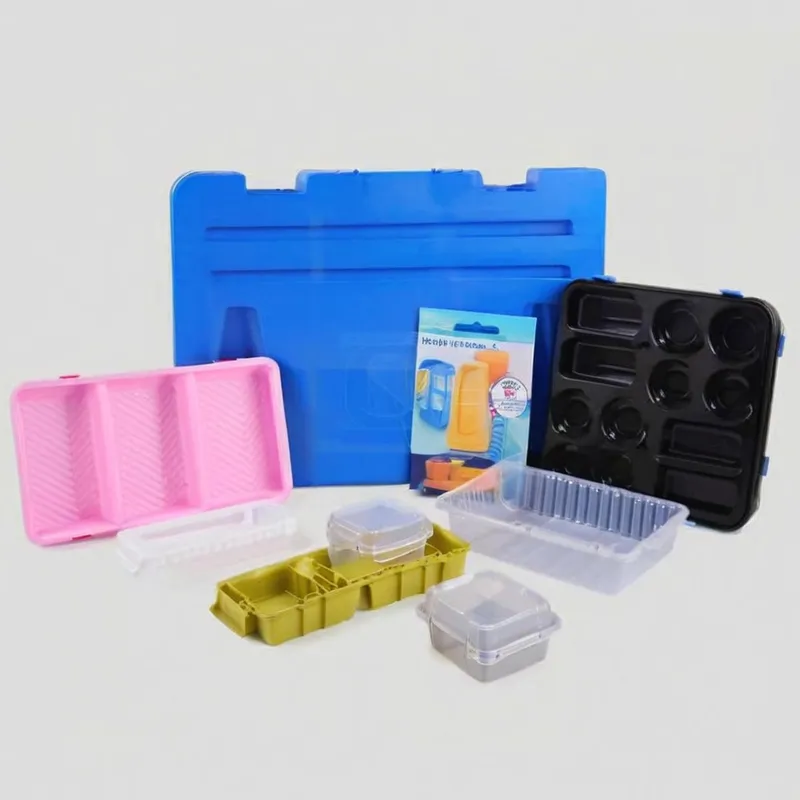
薄肉真空成形は、軽量で耐久性があり、精密なプラスチック部品を製造するために使用される、多用途で費用対効果の高い製造プロセスです。材料の無駄を最小限に抑え、複雑な形状を効率的に作り出すことができるため、その用途は様々な産業に及んでいます。主な用途は以下の通り:
1.包装:
食品包装:トレー、クラムシェル容器、使い捨てカップ。
ブリスターパック:ブリスターパック:医薬品、電子機器、消費財など。
小売包装:化粧品、玩具、電子機器用の特注容器。
2.消費財:
使い捨て食器:皿、ボウル、カトラリー。
家庭用品:保存容器、冷蔵庫の内張り、シャワーパネルなど。
化粧品容器:薄肉の瓶、蓋、コンパクト。
3.医療・ヘルスケア:
滅菌トレイ:手術器具や医療機器の包装用
使い捨て部品:検体カップ、ピルオーガナイザー、保護カバー。
4.農業:
育苗トレイ:薄肉で再利用可能な植物増殖トレイ。
保護カバー:機器や農作物用。

カスタム薄肉(薄ゲージ)真空成形ガイド
薄肉真空成形の自動化
自動化は薄肉真空成形に変革をもたらし、効率と一貫性を向上させています。ここでは、最新技術がどのようにプロセスに統合されているかをご紹介します:
ロボットによるマテリアルハンドリング ロボットがプラスチックシートを機械にセットし、完成した部品を取り出すことで、手作業を減らし、サイクルタイムを短縮する。
CNCトリミング: 成形後、コンピュータ数値制御(CNC)機械が薄肉部品から余分な材料を正確に切り落とし、きれいなエッジと再現性を確保する。
インライン品質チェック: 自動化されたセンサーがシート温度、真空圧、部品寸法をリアルタイムで監視し、問題が深刻化する前にフラグを立てます。
プログラマブルロジックコントローラ(PLC): これらのシステムは、加熱、成形、冷却の全工程をあらかじめ設定されたパラメーターで管理するため、人的ミスを最小限に抑えることができる。
1,000個の部品を生産する中規模生産であれば、自動化によって生産時間を20-30%短縮することができ、同時に均一性を向上させることができる。
薄肉真空成形における課題と解決策
薄肉真空成形には多くの利点があるが、メーカーが対処しなければならない課題もある:
1.不均一な間伐:
課題:深いドローは素材を引き伸ばしすぎて、ある部分を弱くしてしまうことがある。
解決策バキュームでシートを金型に引き込む前に、あらかじめシートを均等に伸ばすプラグアシストツールを使用する。
2.反り:
課題:薄い部品は、冷えるにつれて内部応力によって歪むことがある。
解決策解決策:ファンやウォーターミストで冷却速度を最適化し、治具を使用して冷却中に部品の形状を保持する。
3.限定された詳細:
課題真空成形は射出成形に比べて複雑な形状に苦労する。
ソリューション加圧成形や後加工の機械加工と組み合わせることで、より微細な加工が可能になる。
薄肉真空成形で生産規模を拡大するには?
薄肉真空成形のプロトタイプからフル生産へのスケールアップには、戦略的な計画が必要です。ここでは、メーカーがスムーズに移行する方法をご紹介します:
プロトタイピング: デザインをテストするために、低コストの3Dプリントまたは木型から始めましょう。プロトタイプの金型は、1個で$150程度です。
スモールラン 100~500個ロットの場合はアルミ金型に移行します。これらの金型は耐久性がありながら手頃な価格で、コストと品質のバランスがとれています。
大量生産: 1000個以上の場合、多数個取り金型(複数の部品を一度に成形)が生産量を増やす。金型コストは上昇するが、部品当たりのコストは大幅に低下する。
プロセスの最適化: 加熱時間、真空強度、トリミングを微調整することで、品質を犠牲にすることなくスループットを最大化できます。
薄いゲージ真空成形と重いゲージ真空成形の比較
シンゲージ真空成形とヘビーゲージ真空成形は、熱成形プロセスの2つのバリエーションで、主に使用されるプラスチックシートの厚さと用途によって区別される。
1.材料の厚さ:
薄いゲージ: 0.060インチ(1.5mm)より薄いプラスチックシートで、連続加工用にロール状で供給されることが多い。
ヘビー・ゲージ: 0.060インチ(1.5mm)から0.500インチ(12.7mm)またはそれ以上の厚さのシートを使用し、通常はサイズに合わせてカットして個別に供給する。
2.アプリケーション:
薄いゲージ: 包装トレイ、クラムシェル、ブリスターパック、食品容器など、大量かつ軽量な使い捨て製品によく使用される。
ヘビー・ゲージ: 自動車部品(ダッシュボードなど)、医療機器ハウジング、工業用カバーなど、耐久性のある構造部品に採用。
3.プロセスの特徴:
薄いゲージ: 薄い素材の迅速な加熱・冷却特性により、サイクルタイムが短縮される。効率化のため、自動トリミングと自動スタッキングを統合することも多い。
ヘビー・ゲージ: 加熱と冷却に長い時間を要するため、生産に時間がかかるが、より複雑な形状と高い部品強度が可能になる。
4.メリットとデメリット
薄いゲージ:
- メリット大量生産に適したコスト効率、軽量、廃棄物の発生が少ない。
- デメリットシンプルな設計と耐久性の低い部品に限定される。
ヘビー・ゲージ:
- 利点設計の自由度が高く(アンダーカット、詳細なテクスチャーなど)、丈夫で長持ちする部品を生産。
- デメリット材料費と金型費が高く、生産速度が遅い。
高品質で安定した薄ゲージ熱成形金型
高品質で一貫性のある薄型熱成形金型を実現することは、特に大量生産において、均一な部品を生産するために非常に重要です。金型の品質に貢献する主な要因には、以下のようなものがあります:
1.材料の選択:
アルミニウム 耐久性に優れ、熱伝導性に優れ、何千回もの成形を繰り返しても厳しい公差を維持できるため、量産用金型に適している。
コンポジット/エポキシ: 試作品や小ロット生産に使用され、耐久性は劣るが、より手頃な価格の代替品となる。
2.設計精度:
CAD/CAMツール 金型はコンピューター支援設計(CAD)で設計され、コンピューター支援製造(CAM)で加工され、正確さと再現性を実現する。
ドラフト角度と半径: 抜き勾配(3~5度)と滑らかな半径を組み込むことで、部品の離脱を容易にし、材料の薄化を防ぎます。
3.冷却システム:
冷却チャンネル: 統合されたチャンネルは、均一な温度制御を提供し、サイクル時間を短縮し、安定した部品品質を保証します。
熱管理: 効果的な冷却により、薄板部品の反りを防ぎ、寸法安定性を維持します。
4.表面仕上げ:
ポリッシュ/テクスチャー: 研磨された金型は光沢のある部品を生み出し、テクスチャー加工された表面はつや消しや模様のある仕上げを生み出す。
換気: 戦略的に配置された通気孔が空気を逃がし、プラスチックが欠陥なく金型に完全に適合することを保証する。
5.製造技術:
CNC 加工: 高精度の機械加工により、正確な金型形状が保証されます。
モジュラー設計: 交換可能なインサートは、金型全体を交換することなく、迅速な設計変更を可能にします。
薄型熱成形金型の種類とは?
薄型熱成形金型にはいくつかの種類があり、それぞれ特定の生産ニーズ、予算、部品の要件に合わせて調整されています:
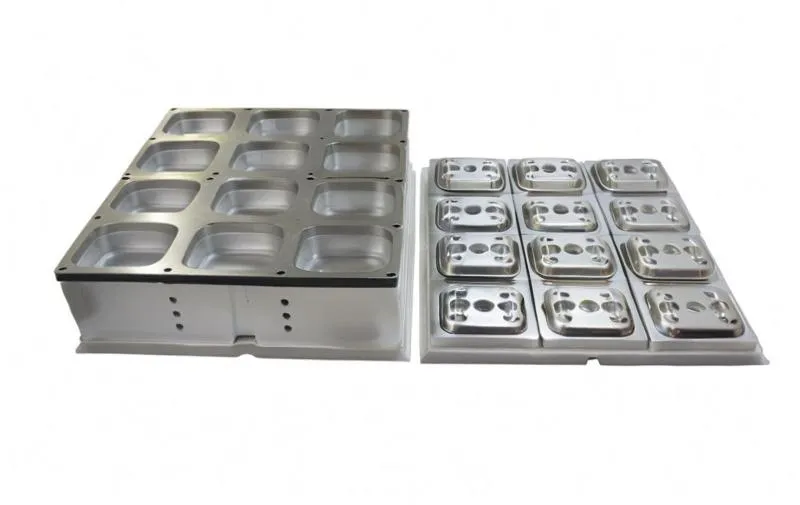
1.アルミニウム金型:
高級アルミニウムで作られたこの金型は、生産用の金型として最適です。
- 用途:包装、トレイ、容器の大量生産。
- 長所耐久性があり、熱転写に優れ、細かいディテールまで表現できる。
- 短所:イニシャルコストが高い。
2.複合金型:
エポキシ樹脂やグラスファイバーで作られたこれらの金型は、軽量でコストも低い。
- 用途プロトタイピングまたは小ロット生産。
- 長所手頃な価格と迅速な生産。
- 短所:耐久性が低く、通常100~500サイクル。
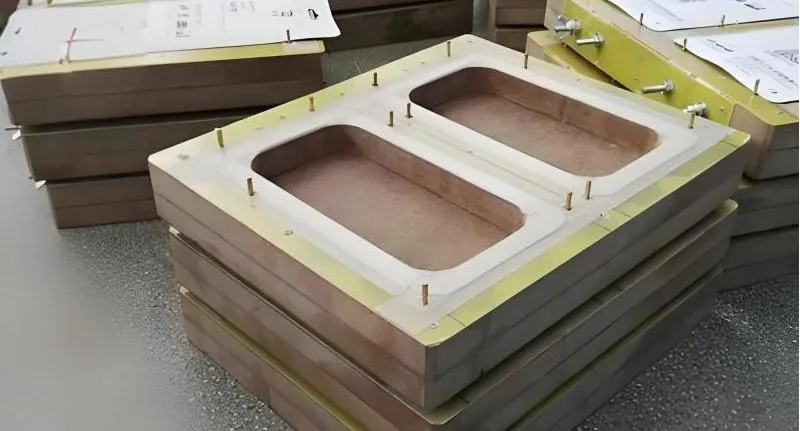
3.木型:
広葉樹または合板で構成され、基本的な成形が可能。
- 用途ワンオフ部品や初期のプロトタイプ。
- 長所安価で素早く作成できる。
- 短所:摩耗しやすく、生産には向かない。
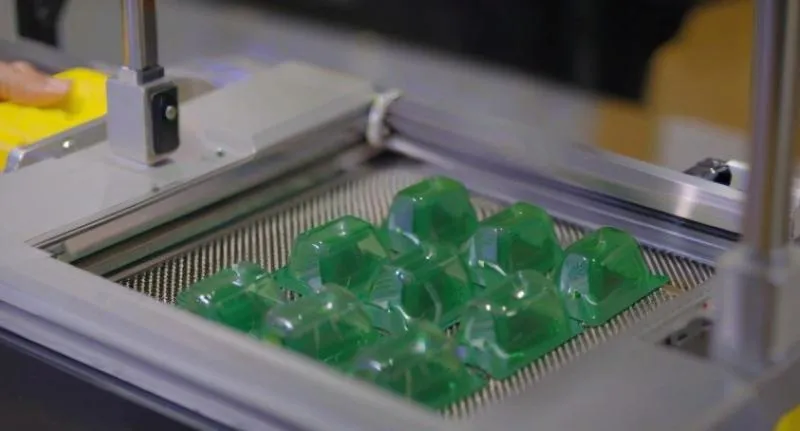
4.3Dプリント金型:
耐熱性ポリマーや樹脂を3Dプリンターで製造。
- 用途ラピッドプロトタイピングまたは少量のカスタム部品。
- 長所迅速な生産とデザインの柔軟性。
- 短所:耐久性と耐熱性に限界がある。
5.マルチキャビティ金型:
複数のキャビティを備え、1枚のシートから複数の部品を同時に成形できる。
- 用途:効率化のための大量生産。
- 長所生産量を高め、部品単価を下げる。
- 短所:設計が複雑でコストがかかる。
よくあるご質問
入門編 アップラステック
質問がありますか?私たちがお答えします。
当社は押出成形、真空成形、ブロー成形、精密金型製作を専門としており、お客様の多様な製造ニーズに対応するカスタマイズされたソリューションを提供しています。
自動車、エレクトロニクス、消費財、パッケージングなどさまざまな業界と協力し、B2Bパートナーシップに重点を置き、押出成形、熱成形、ブロー成形、精密金型製造などのソリューションを提供している。
はい、お客様独自の要件に合わせてソリューションをカスタマイズします。
お問い合わせ
お見積もりはメールまたは下記フォームからお気軽にお問い合わせください。
Eメール:uplastech@gmail.com
