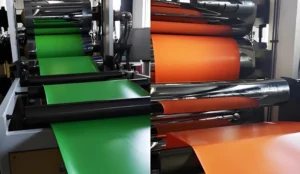
- 1. What is an Extruder and How Does It Work?
- 2. Why is Optimizing Extruder Settings Crucial?
- 3. How Do Different Plastics Affect Extruder Settings?
- 4. What are the Key Parameters to Optimize in Extrusion?
- 5. How to Optimize Extruder Settings for Specific Plastics?
- 6. What are Common Challenges and Solutions in Extrusion Optimization?
- 7. How Do Material Properties Influence Extruder Settings?
- 8. What Tools and Techniques Aid in Optimizing Extrusion Settings?
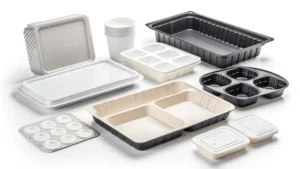
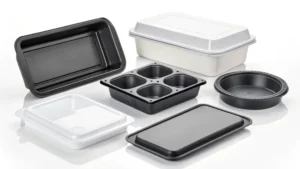
- 9. How Does Extrusion Fit into Plastic Processing?
- 10. Conclusion
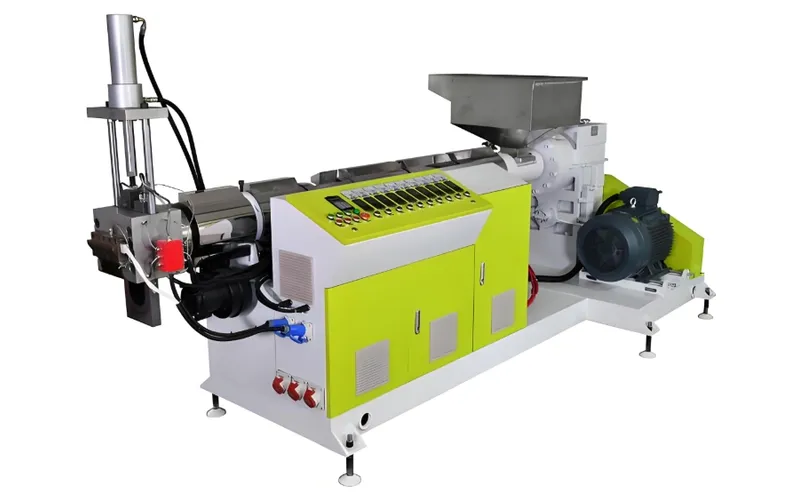
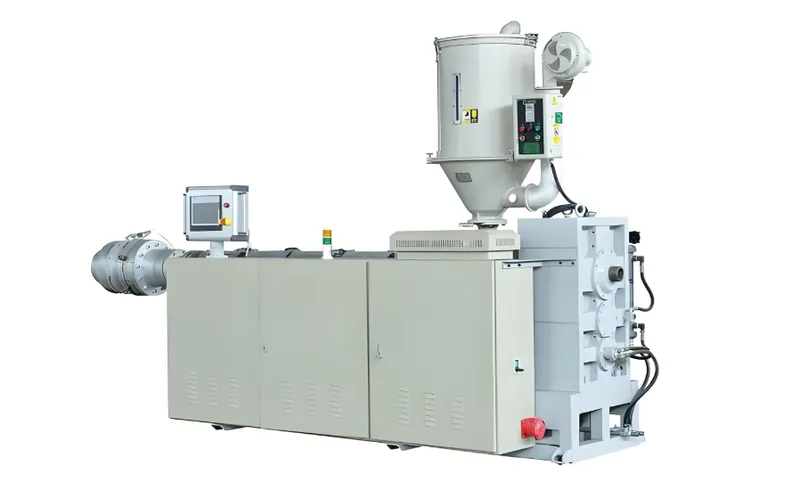
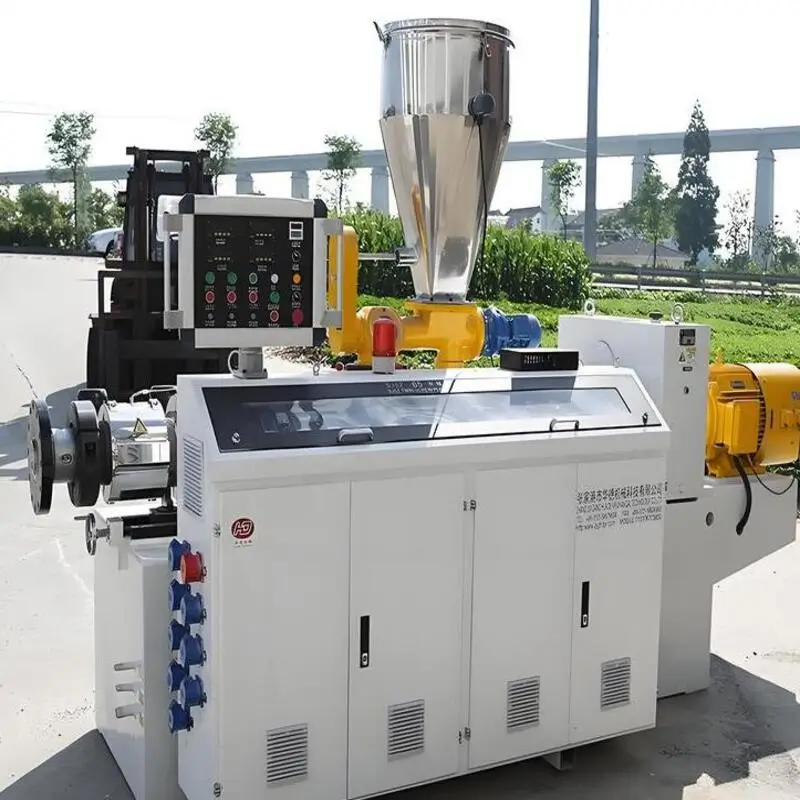
What is an Extruder and How Does It Work?
An extruder is a machine that melts plastic materials and forces them through a die to form continuous shapes. Its key components include:

-
Hopper: Feeds plastic pellets into the system.
-
Barrel: Contains the screw and heating elements to melt the plastic.
-
Screw: Transports, melts, and pressurizes the plastic.
-
Die: Shapes the molten plastic into the final product.
Extruders come in types like single-screw, ideal for thermoplastics, and twin-screw, suited for mixing or heat-sensitive materials. Optimizing settings ensures the plastic melts uniformly and flows correctly through the die.
Why is Optimizing Extruder Settings Crucial?
Proper extruder settings are essential for:
-
Uniform Melting: Prevents defects like unmelted particles or degradation.
-
Product Consistency: Ensures accurate dimensions and properties.
-
Efficiency: Minimizes waste and energy use.
Each plastic’s unique characteristics—such as melting point and viscosity—require tailored settings for optimal results.
Optimizing extruder settings is critical for producing high-quality plastic products.True
Correct settings ensure uniform melting and consistent output, preventing defects and improving product quality.
How Do Different Plastics Affect Extruder Settings?
Different plastics have distinct properties that influence extruder settings. Here’s a breakdown of common plastics and their requirements:

Polyethylene (PE)
-
Types: High-density (HDPE), low-density (LDPE)
-
Temperature Range:
-
HDPE: 180–205°C
-
LDPE: 170–200°C
-
-
Screw Speed: Moderate to high, based on output needs.
-
Die Design: Adjusted for product shape and flow.
Polypropylene (PP)
-
Temperature Range: 200–250°C
-
Screw Speed: Moderate, due to higher viscosity.
-
Die Design: Calibrated to avoid warping.

Polystyrene (PS)
-
Temperature Range: 180–240°C
-
Screw Speed: Lower, to limit shear heating.
-
Die Design: Accounts for brittleness.
Polyvinyl Chloride (PVC)
-
Temperature Range: 160–210°C
-
Screw Speed: Low to moderate, as it’s heat-sensitive.
-
Die Design: Larger openings for high viscosity.
All plastics can be extruded using the same temperature settings.False
Each plastic requires a specific temperature range to prevent degradation or incomplete melting due to varying thermal properties.
What are the Key Parameters to Optimize in Extrusion?
Temperature Profile
The barrel’s temperature profile is critical:

-
Feed Zone: Lower temperature to avoid premature melting.
-
Transition Zone: Gradual increase for melting.
-
Metering Zone: Peak temperature for uniform melt.
-
Die Temperature: Slightly lower to stabilize shape.
Example Profiles:
-
HDPE:
-
Zone 1: 150–160°C
-
Zone 2: 170–180°C
-
Zone 3: 190–200°C
-
Die: 200–210°C
-
-
PP:
-
Zone 1: 180–190°C
-
Zone 2: 200–210°C
-
Zone 3: 220–230°C
-
Die: 230–240°C
-
Screw Speed
Screw speed1 impacts output and heat:
-
High Speed: Boosts output but increases melt temperature.
-
Low Speed: Reduces shear heating, ideal for heat-sensitive plastics like PVC.
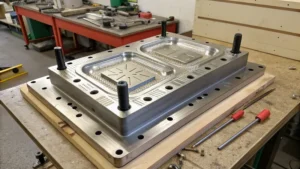
Die Design
The die shapes the product:

-
High-Viscosity Plastics (e.g., PVC)2: Need larger openings.
-
Low-Viscosity Plastics (e.g., LDPE): Require smaller, precise openings.
How to Optimize Extruder Settings for Specific Plastics?
Step 1: Choose the Right Extruder
- Single-Screw3: Best for PE, PP, PS..

- Twin-Screw: Ideal for PVC or mixing needs.
Step 2: Set the Temperature Profile
-
Begin with manufacturer guidelines.
-
Use temperature probes for real-time adjustments.
-
Gradually increase temperatures to avoid thermal shock.
Step 3: Adjust Screw Speed
- Start moderate, then tweak based on melt temperature.
-
Use lower speeds for heat-sensitive plastics.
-
Monitor output quality continuously.
Step 4: Calibrate the Die
-
Ensure a clean, obstruction-free die.
-
Adjust the gap for desired thickness.
-
Use simulation tools for complex shapes.
Step 5: Monitor and Refine
-
Track temperature, pressure, and output with sensors.
-
Make small adjustments based on data.
-
Inspect products for defects like warping.
Optimizing extruder settings requires real-time monitoring and adjustments.True
Real-time data allows for immediate corrections, ensuring consistent quality and efficiency.
What are Common Challenges and Solutions in Extrusion Optimization?
Challenge 1: Incomplete Melting
- Cause: Low temperature or high screw speed.

- Solution: Raise feed/transition zone temperatures or lower speed.
Challenge 2: Material Degradation
-
Cause: Excessive heat or long residence time.
-
Solution: Reduce temperature or increase screw speed.
Challenge 3: Inconsistent Dimensions
-
Cause: Temperature or pressure fluctuations.
-
Solution: Stabilize settings and ensure steady feeding.
Challenge 4: Die Buildup
- Cause: Residue or material incompatibility.

- Solution: Clean die regularly and match materials.
How Do Material Properties Influence Extruder Settings?
Plastic properties dictate settings:
| Plastic | Melting Point (°C) | Viscosity | Thermal Stability | Recommended Extruder |
|---|---|---|---|---|
| HDPE | 130–135 | Medium | High | Single-Screw |
| LDPE | 105–115 | Low | Medium | Single-Screw |
| PP | 160–170 | High | Medium | Single-Screw |
| PS | 100–120 | Low | Low | Single-Screw |
| PVC | 100–260 | High | Low | Twin-Screw |
-
Viscosity: High-viscosity plastics (e.g., PP, PVC) need slower speeds and larger dies.
-
Thermal Stability: Heat-sensitive plastics (e.g., PVC) require lower temperatures.
Material properties like viscosity and thermal stability directly influence extruder settings.True
These properties determine the ideal temperature, speed, and die design for each plastic.
What Tools and Techniques Aid in Optimizing Extrusion Settings?
Design Checklist
- Even Wall Thickness: Reduces cooling issues.

-
Minimize Sharp Corners: Lowers stress points.
-
Uniform Flow Die: Ensures smooth flow.
Monitoring Tools
-
Temperature Probes4: Maintain precise control.
-
Pressure Sensors: Ensure consistent die pressure.
-
Output Meters: Track production rates.
Decision Framework
-
Extruder Type: Match to material and quality needs.
-
Setting Adjustments: Use data-driven, incremental changes.
How Does Extrusion Fit into Plastic Processing?
Extrusion is part of a broader ecosystem:
-
Upstream: Pellet production and compounding.
-
Downstream: Fabrication and assembly.
-
Alternatives: Injection molding for parts, blow molding for hollow items.
Extrusion excels in continuous, uniform products.
Conclusion
Optimizing extruder settings5 for different plastics is a blend of science and skill, requiring precise adjustments to temperature, screw speed, and die design based on each material’s properties. By following a systematic approach—selecting the right extruder, setting tailored profiles, and monitoring in real time—manufacturers can enhance quality, reduce waste, and boost efficiency. Apply these strategies to elevate your extrusion processes and produce superior plastic products.
-
Screw speed significantly influences output and melt quality. Discover detailed explanations and tips on managing screw speed effectively. ↩
-
Understanding high-viscosity plastics is crucial for optimizing processing and achieving quality outputs. Explore this resource for in-depth insights. ↩
-
Single-screw extruders are widely used for various plastics. Learn about their benefits and applications to improve your production process. ↩
-
Temperature probes are vital for maintaining optimal conditions during extrusion. Discover how they enhance efficiency and product quality. ↩
-
Understanding the best practices for extruder settings can significantly enhance product quality and efficiency in plastic manufacturing. ↩