Efficient extrusion processes are crucial for reducing waste and improving product quality. Understanding and addressing common issues can significantly improve plastic extrusion performance.
Monitor temperature controls, ensure consistent material feed, and evaluate screw design to reduce defects and improve product consistency, essential for automotive, packaging, and construction industries.
While these fundamental tips can enhance extrusion outcomes, delving deeper into specific machine settings and materials can further refine the process. Explore advanced strategies to maximize extruder efficiency and quality.
Monitoring temperature controls can reduce extrusion defects.True
Precise temperature control ensures consistent material flow and prevents defects during the extrusion process.
Switching materials frequently does not affect extrusion efficiency.False
Frequent material changes can disrupt the extrusion process, requiring adjustments in temperature and screw settings, which may affect efficiency.
- 1. How to do the Temperature Commissioning of Plastic Extruder?
- 2. How to Do the Pressure Debugging of Plastic Extruder?
- 3. What Role Does Screw Commissioning Play in Extruder Commissioning?
- 4. How to Do the Die Head Adjustment of Plastic Extruder?
- 5. What are the Extrusion Speed Control Methods in the Plastic Extrusion Process?
- 6. Conclusion
How to do the Temperature Commissioning of Plastic Extruder?
Temperature commissioning of plastic extruders ensures optimal performance, enhancing product quality and operational efficiency across various applications.
Calibrate a plastic extruder's heating zones, verify sensors, and ensure stability to optimize flow and consistency, reduce energy use, and enhance extrusion quality.
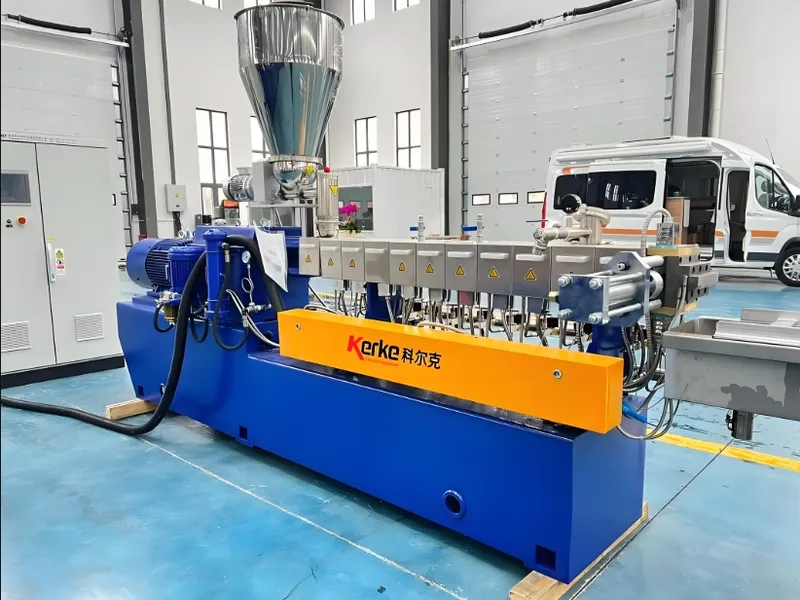
Barrel Temperature
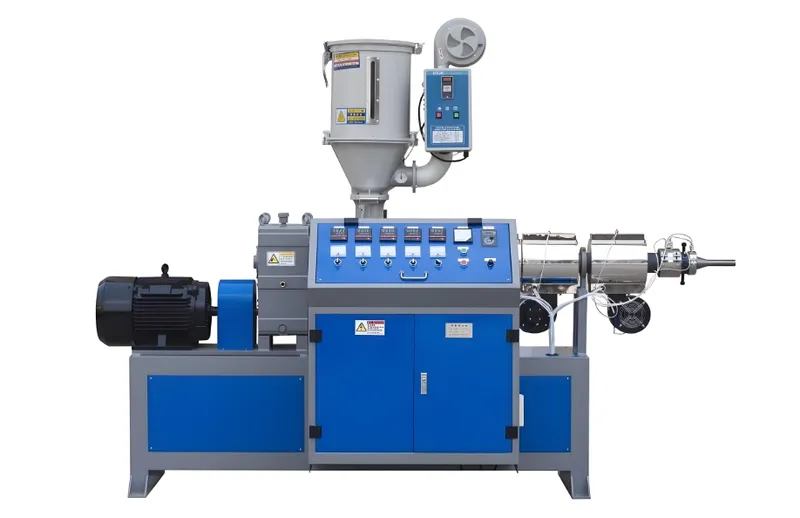
The temperatures that need to be controlled in the injection molding process are barrel temperature1, nozzle temperature, and die temperature. The first two temperatures mainly affect the plasticization and flow of plastics, while the latter temperature mainly affects the flow and cooling of plastics.
Different types of plastics have different melt temperatures. Even the same type of plastic, due to different sources or grades, will have different melt temperatures and decomposition temperatures. This is because the average molecular weight and molecular weight distribution are different. Different plastics also have different plasticization processes2 in different types of injection molding machines, so the choice of barrel temperature is also different.
Nozzle Temperature
The nozzle temperature is usually slightly lower than the maximum barrel temperature to prevent “drooling” of the melt that can happen in straight-through nozzles. The nozzle temperature should not be too low, or the nozzle will be blocked by early condensation of the melt, or the product will be affected by injecting early condensed material into the mold cavity.
Mold Temperature
The temperature of the mold3 is very important for the performance and appearance of the product. The temperature of the mold is determined by the crystallinity of the plastic, the size and structure of the product, the performance requirements, and other process conditions such as the temperature of the melt, the injection speed, the injection pressure, and the molding cycle.

Increase the Temperature
If the temperature is too low, it will make the plastic material difficult to flow and extrude. You need to raise the temperature appropriately to solve the problem.
- Barrel heating: you can increase the heating power of the barrel to raise the temperature and make the plastic material flow better. Die head heating: You can also heat the die head to raise the temperature and make the plastic material flow better.
Temperature commissioning enhances the energy efficiency of a plastic extruder.True
By ensuring precise temperature control, energy wastage is minimized, leading to more efficient operation.
Temperature commissioning is not necessary for small-scale extruders.False
Regardless of scale, temperature commissioning is crucial to ensure consistent quality and prevent operational inefficiencies.
How to Do the Pressure Debugging of Plastic Extruder?
Pressure debugging in plastic extruders ensures smooth operation and optimal product quality by identifying and resolving pressure inconsistencies during the extrusion process.
Pressure debugging involves optimizing screw speed, die design, and material feed to stabilize pressure, enhancing extrusion quality and manufacturing efficiency.
Extrusion Pressure Adjustment Method
-
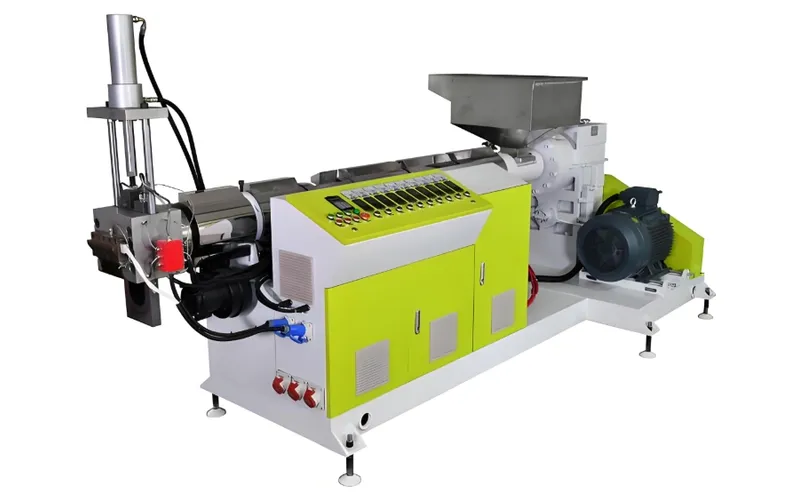
Adjust the speed of the pump: the pump of the extruder provides the extrusion pressure. One way to control the extrusion pressure is to adjust the pump speed. Usually, increasing the pump speed will increase the extrusion pressure. When adjusting the pump speed, you need to consider the product characteristics and the performance characteristics of the extruder.
-
Adjusting the temperature of the refiner: when you’re running the extruder, you need to preheat the plastic pellets by running them through the melt pump to get the right temperature for extrusion. Changing the temperature of the melt pump changes how the plastic flows, which changes the extrusion pressure. In general, if you raise the temperature of the melt pump, you’ll raise the extrusion pressure.
-
Adjusting the die and extrusion outlet: the size of the die and extrusion outlet also has a big effect on the extrusion pressure. If the die and outlet are too small, the resistance to plastic flow will go up, and the extrusion pressure will go up. If the die and extrusion outlet are too big, the resistance to plastic flow goes down, and the extrusion pressure goes down. So, be careful to pick the right size when you adjust the die and extrusion outlet.
-
Adjust the extrusion speed: the extrusion speed will also affect the extrusion pressure. In general, increasing the extrusion speed will increase the extrusion pressure. However, if the extrusion speed is too high, it can cause quality issues such as plastic bubbles, door cracks, and shrinkage holes. Therefore, the extrusion speed needs to be adjusted based on the specific circumstances.
-
Installation of pressurizing device: using a pressurizing device is a common way to adjust the extrusion pressure. The pressurizing device can increase the force area of the plastic, change the fluidity of the plastic, and increase the extrusion pressure. Using a pressurizing device requires modifying the equipment and is usually used for equipment that produces high-precision products.

Adjusting the Output Pressure of the Extruder
-
Understand the nature of the product and machine parameters: before you start messing with the pressure on your extruder, you need to know what you’re making and what your machine can do. Different materials and different machines will have different effects on how much pressure you need. For example, you usually need more pressure to run high density polyethylene than you do to run low density polyethylene.
-
Adjusting extruder speed and temperature: the speed and temperature of the extruder will also affect the amount of extruder pressure. If the extruder speed is too fast or the temperature is too high, it will cause the extruder pressure to be too high, which will decrease the quality of the product. So, before adjusting the extruder pressure, you need to adjust the extruder speed and temperature.
-
Adjustment in accordance with product requirements: when you adjust the extruder pressure, you need to adjust it according to the product requirements. Determine the size of the extruder pressure according to the product requirements, and then make adjustments.
-
Carry out trial production and gradually adjust: doing a trial run is a big part of getting the extruder pressure right. When you do a trial run, you can slowly get used to adjusting the extruder pressure based on what’s actually happening in production, so you can get the best results.
-
Monitor the pressure changes during production: when you’re making stuff, you gotta keep an eye on the pressure in the extruder. If it’s too high or too low, you can adjust the extruder to make sure your product is good and you’re not wasting time.
Proper pressure debugging in plastic extruders enhances product consistency and reduces waste.True
Addressing pressure inconsistencies minimizes defects in the final product, ensuring a more uniform output and reducing scrap rates.
Pressure debugging is only necessary when there is a problem.False
Proactive pressure debugging is beneficial in maintaining optimal operation and preventing potential issues before they arise.
What Role Does Screw Commissioning Play in Extruder Commissioning?
Screw commissioning is a critical step in extruder setup, directly influencing efficiency, product quality, and operational stability.
Screw commissioning enhances extrusion processes by optimizing screw configuration and alignment, improving melt uniformity and throughput. This is crucial for maintaining consistent product quality and efficiency in plastics, food, and chemical industries.

Plastic Extruder Screw Speed Adjustment
-
Preparation for start-up: before starting up, make sure all parts of the extruder are normal, including the screw, barrel, heater, cooling system, etc. And preheat the extruder to the set temperature. And preheat the extruder to the set temperature.
-
Low-speed startup: when you start the extruder, first run the screw at the lowest speed to minimize the impact on the equipment and prevent damage caused by sudden high-speed startup.
-
Gradual increase: once you’ve run at low speed for a while to make sure the material starts to flow, you can start to increase the screw speed. You want to do this gradually, increasing by 5-10 rpm at a time.
-
Observe the material: as you increase the speed, watch the plasticization of the material4 through the barrel window or sampling port to make sure the material is fully plasticized and there are no unmelted particles or overheating decomposition.
-
Adjust to suitable speed: adjust the screw speed5 to a suitable range based on the degree of plasticization of the material and the quality of the extruded profile. This ensures that the material is fully plasticized and the profile is of stable quality without any defects.
-
Match the haul-off speed: when you adjust the screw speed, make sure the haul-off speed matches so you keep the same stretch ratio. If the haul-off is too fast, speed it up; if it’s too slow, slow it down.

-
Consider the back pressure: when adjusting the speed, be sure to pay attention to the changes in back pressure, as back pressure affects material plasticization and extrusion stability. The right back pressure helps with plasticization, but if it’s too high, it can overload the equipment.
-
Record data: record the extrusion situation at different speeds during the adjustment process to help analyze and determine the optimal screw speed.
-
Stable operation: once you find the best speed, keep it steady. Don’t change the speed a lot. That way, your product will be the same every time.
-
Abnormal treatment: if there is a blockage, defects, etc., you should immediately slow down or stop the machine to check and remove the problem before readjusting.
Extruder Screw Gap Adjustment
-
Determine the location of the screw gap: just let the extruder run, put the plastic pellets in the hopper, and see how it comes out. If it comes out good, that means the screw gap is right. If it doesn’t come out good, that means the screw gap is not right and you need to adjust it.
-
Adjust the screw gap: shut off the heater on the extruder, wait for the extruder to cool down to room temperature, find the screw you want to adjust, open the screw cover, measure the gap with a feeler gauge, adjust the gap to the right size, and then tighten the screw cover.
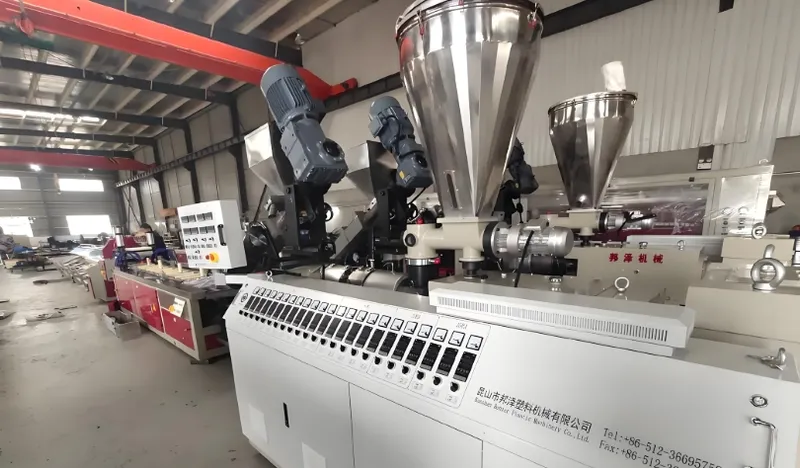
- Test whether the screw gap is suitable or not: run the extruder again, put in the same plastic granules, watch the discharge, if the discharge is normal, it means the screw clearance is adjusted successfully; if the discharge is not normal, it needs to be adjusted again.
Adjustment of Screw Speed
If the screw speed is too high or too low, it will cause poor extrusion, so we need to adjust it according to the specific situation. If the screw speed is too low, you can increase the screw speed to enhance the extrusion ability of the extruder. If the screw speed is too high, you can reduce the screw speed to avoid excessive plastic residue and air bubbles.
Screw commissioning consistently leads to increased productivity in extrusion.True
Accurate screw commissioning ensures optimal mixing and homogenization, resulting in higher throughput and product consistency.
Screw commissioning is unnecessary for small-scale extrusion operations.False
Even in small-scale operations, screw commissioning is crucial for maintaining product quality and process stability.
How to Do the Die Head Adjustment of Plastic Extruder?
The die head adjustment is crucial in plastic extrusion, ensuring product consistency and quality across various applications.
Proper die head adjustment in plastic extrusion ensures consistent product quality by setting the correct temperature, pressure, and alignment. Regular monitoring and adjustments prevent defects, benefiting industries such as automotive, packaging, and construction.
Extruding Die Jead Adjustment Method
-
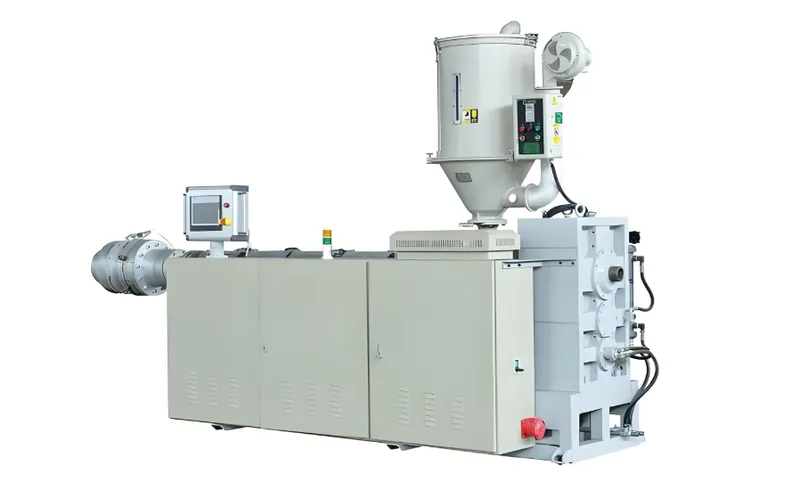
Manual adjustment: open the extruder unit. First, turn off the heater. Then, adjust the opening size of the die head. Adjust the die head gap by manually adjusting the extrusion head pressure size. Open the die head after adjustment. Check the adjusted die head gap. Turn off the heater. Restart the extruder for extrusion molding.
-
Visual adjustment: to adjust the pressure, first, look at the speed of the material coming out and the shape of the line coming out. Use your eyes to adjust the size of the opening of the die head based on these parameters. Then, use your eyes to see if the gap of the die head you adjusted is good or not.
-
Mechanical adjustment: to adjust the die head gap mechanically, you need skilled workers to do it. This way, you can adjust the die head gap and the pressure of the extrusion head more precisely.
Plastic Extruder Die Head Die Mouth Gap Adjustment Method
- Check the mold: before adjusting the die head gap6 of a plastic extruder, you need to check if there is any problem with the mold first. The checking method is, first disassemble the mold, check if there is any deformation, cracks, and other problems. If there is, you need to repair it. At the same time, you also need to check if the mold is preheated enough. If it is not preheated well, you need to wait for it to preheat.
-
Select the appropriate adjustment tool: when adjusting the gap of the plastic extruder die head mold, you need to use the right tool. You can usually use a plastic plate, plastic corrugated sheet, or even steel or other softer materials. When choosing the tool, pay attention to the size. You should choose a tool that is slightly wider than the die head so that it’s easy to adjust.
-
Test before and after adjustment: before you adjust the gap between the die head and the die mouth of the plastic extruder, you need to figure out how much you need to adjust it. In general, the gap between the die head and the die mouth should be controlled between 0.1-0.25mm. After you adjust it, you need to test it. You can use a piece of white paper or a piece of tape. Put the plastic extruder with the die head and the die mouth adjusted on it. Extrude some plastic and look at the width and the uniformity of the extrudate. You can tell if you adjusted the gap between the die head and the die mouth correctly.
-
Adjustment steps: use a plastic or metal plate and other tools to adjust the die head up and down. You need to do some trial adjustments before and after the adjustment. Pay attention to the strength of the adjustment. Generally, you can push it gently with your hand. After the adjustment, you need to test it again to make sure the adjustment is effective.
Die head adjustment minimizes defects in plastic extrusion.True
Adjusting the die head correctly ensures uniform flow and material distribution, reducing the likelihood of defects in the final product.
Die head adjustment is unnecessary for all plastic extruders.False
Die head adjustment is critical for achieving desired product specifications and maintaining quality, especially in complex or high-precision extrusion applications.
What are the Extrusion Speed Control Methods in the Plastic Extrusion Process?
Controlling extrusion speed is critical in the plastic extrusion process, impacting product quality and operational efficiency across multiple industries.
Extrusion speed is controlled through screw speed adjustments, die design optimization, and motor speed systems, ensuring consistent material flow and quality in packaging, piping, and automotive parts production.

Motor Speed Control
The extruder’s motor is the main component that controls how fast the extruder extrudes. By changing the motor’s speed, you can control how fast the extruder extrudes. You can change the motor’s speed by using a frequency converter. A frequency converter changes the motor’s speed by changing the voltage and frequency. This lets you control how fast the extruder extrudes. You can set different speeds depending on what you’re making and how you’re making it.
Die Head Adjustment
The die head is one of the key components that control the extrusion speed. By adjusting the opening and closing of the die head, you can change the flow of plastic in the extruder, thus controlling the extrusion speed.

If the extrusion speed is too fast, you can increase the opening and closing of the die head to increase the extrusion cross-sectional area and reduce the flow rate of plastic; if the extrusion speed is too slow, you can decrease the opening and closing of the die head to reduce the extrusion cross-sectional area and increase the flow rate of plastic.
Temperature Control
Plastic fluidity is greatly affected by temperature. By controlling the heating and cooling system of the extruder, the temperature of the plastic can be adjusted to control the extrusion speed. When the extrusion speed is too fast, the heating temperature of the extruder can be appropriately lowered to reduce the flowability of the plastic; when the extrusion speed is too slow, the heating temperature of the extruder can be appropriately increased to improve the flowability of the plastic.
Rubber Supply Device Control
Rubber supply is another important factor to control the extrusion speed. The extrusion speed can be controlled by changing the amount and speed of rubber supply. The extrusion speed can be changed by adjusting the amount and speed of rubber supply. Generally speaking, increasing the amount and speed of rubber supply can increase the extrusion speed, while decreasing the amount and speed of rubber supply can decrease the extrusion speed.
Extruder Pressure Control
Extruder pressure also affects extrusion speed. By adjusting the extruder's glue discharge pressure, you can control the flow rate of plastic in the extruder, which controls extrusion speed. In general, increasing the extruder discharge pressure increases extrusion speed, while decreasing the discharge pressure decreases extrusion speed.
Variable frequency drives offer precise speed regulation in extrusion.True
Variable frequency drives adjust motor speed, providing consistent extrusion rates and accommodating various material types and conditions.
Mechanical adjustments are outdated and less effective than modern electronic controls.False
While mechanical adjustments may lack the precision of electronic controls, they are still effective in certain contexts, particularly in simpler or smaller-scale operations.
Conclusion
This paper presents key commissioning techniques in the plastics extrusion process, including temperature, pressure, screw speed, and die adjustment. Barrel, nozzle, and die temperatures are critical for plasticizing, flowing, and cooling the plastic.
Adjusting extruder pressure takes into account factors such as pump speed, refiner temperature, and the size of the die and extrusion nozzle. Screw tuning ensures full plasticization and smooth extrusion by adjusting speed and clearance. Die head adjustment and motor speed control help regulate extrusion speed to ensure consistent productivity and product quality.
-
Exploring the impact of barrel temperature on plastic flow can enhance your knowledge of injection molding efficiency. ↩
-
Learning about plasticization processes can enhance your understanding of injection molding efficiency and product quality. Check this out! ↩
-
Exploring this topic can provide insights into improving product performance and appearance through mold temperature management. ↩
-
Exploring the role of plasticization can help you optimize your extrusion process and improve product quality. ↩
-
Understanding the optimal screw speed is crucial for achieving high-quality extrusion and preventing defects in the final product. ↩
-
Learning about die head gap adjustments can enhance your extrusion efficiency and product consistency. ↩


